Builder Documentation
Builder Documentation
n8n Workflow Configuration
n8n Integration Overview
Integration Flow
User requests task on Axana
    ↓
Axana calls your webhook
    ↓
Your workflow processes the request
    ↓
Workflow sends result back to Axana
    ↓
User receives the result
    ↓
You get paid
Example Request from Axana to Your Webhook
# Axana makes a POST request to the endpoint you set up
POST https://your-n8n-instance.com/webhook/lead-generator

# Axana Includes the header you have set up
Authorization: Bearer your-secret-token-123

# Axana adds some headers you can use (will be explained below)
Content-Type: application/json
x-axana-response-url-success: https://api.axana.ai/tasks/task-uuid/success
x-axana-response-url-error: https://api.axana.ai/tasks/task-uuid/error
x-axana-user-id: user-signature

# Axana adds the user's prompt to the body of the request
{
  "companyName": "Axana",
  "name": "John Doe",
  "linkedInURL": ""
}
Headers
- Content-Type: application/json - this tells to your webhook that the body is a json object
- x-axana-response-url-success - URL to use to reply to the user's request in case it succeeds (all parameters are validated, no error, ...)
- x-axana-response-url-error - URL to use to reply to the user's request in case of any error (internal error, missing parameter, ...)
- x-axana-user-id - a signature of the user so you can establish a link with any precedent requests
Body
- The body is always a json object containing the request of the users
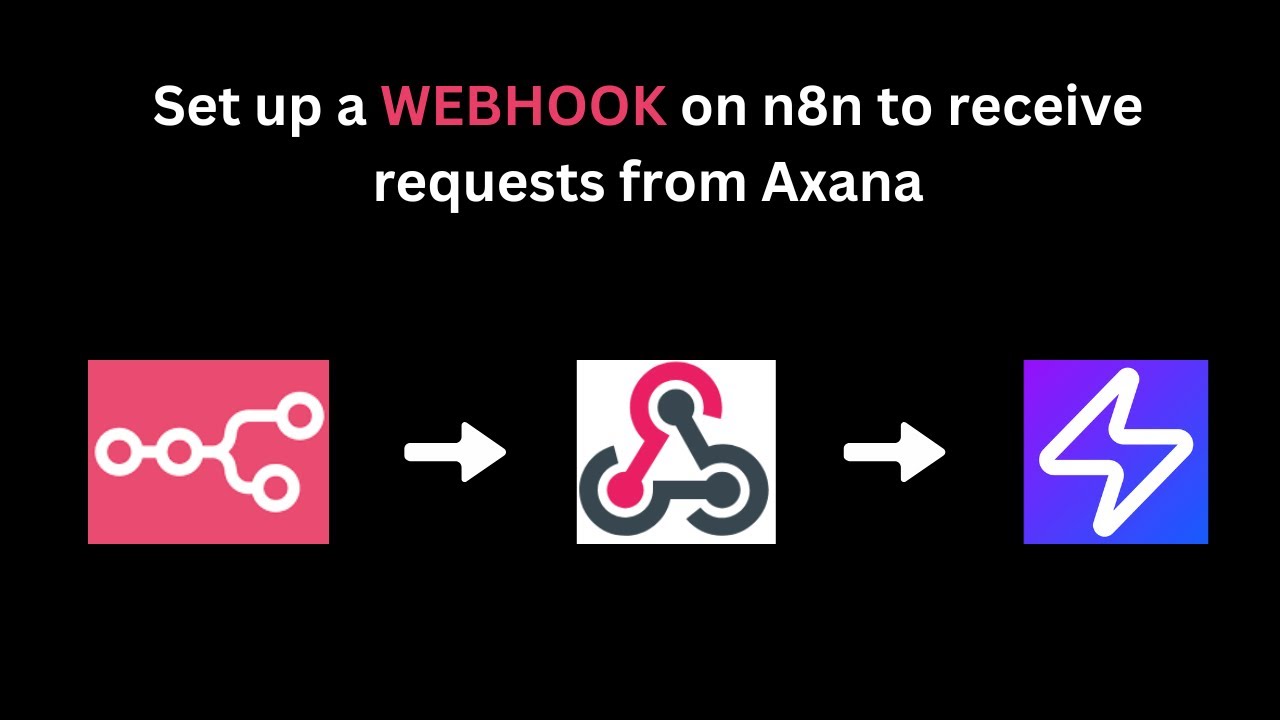
Webhook Setup
Your workflow must begin with a webhook that:
- Accepts POST requests
- Content-Type:
application/json - Implements security using the configured header and value
📹 Video Tutorial: Webhook Configuration
Click on the picture to watch how to properly configure your webhook node in n8n:
Received Headers
Your webhook will receive the following headers:
x-axana-response-url-success: URL for sending successful responsesx-axana-response-url-error: URL for sending error responsesx-axana-user-id: Unique identifier of the requesting user
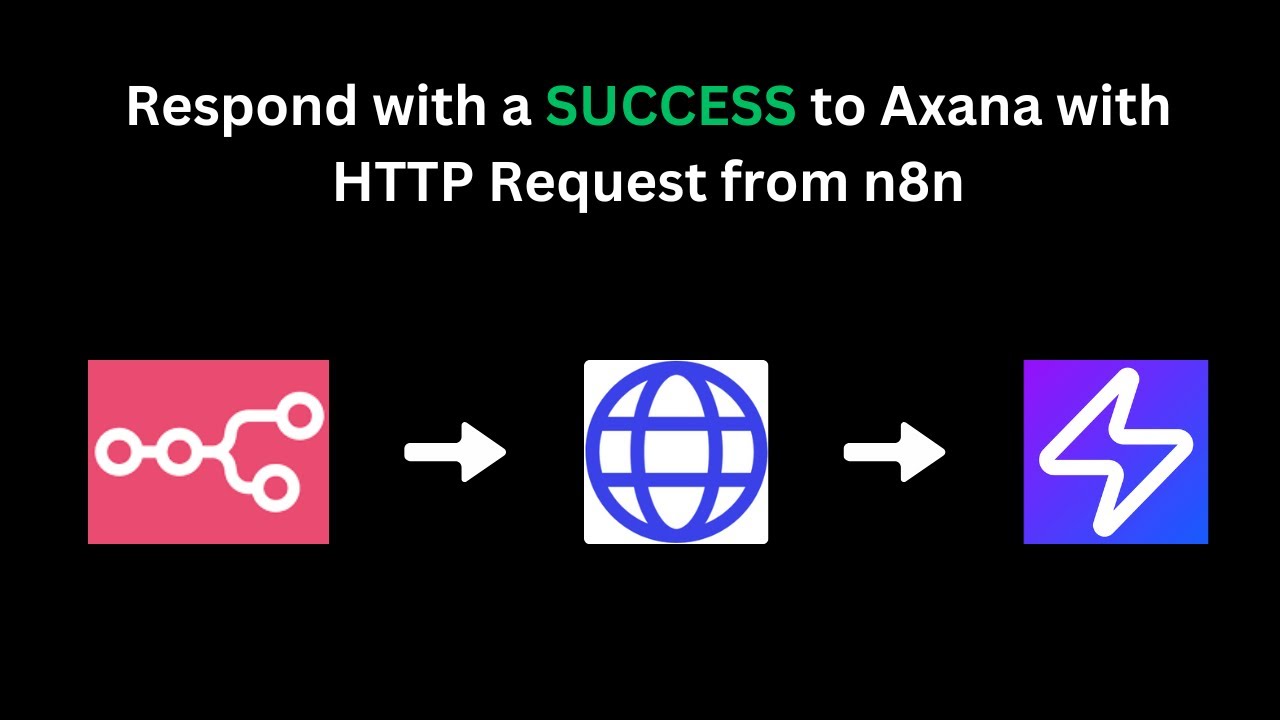
Response Handling
Success Response
When your agent (workflow) completes successfully:
- Send a POST request to the URL in
x-axana-response-url-success - Content-Type:
application/json - Body: JSON response data
- Expected response:
200 Ok
Payment Processing:
- Immediate payment if response is sent within the configured duration
- Delayed payment (upon user fetch) if response is sent after timeout
📹 Video Tutorial: Success Response Configuration
Click on the picture to watch how to configure the HTTP request node for successful responses:
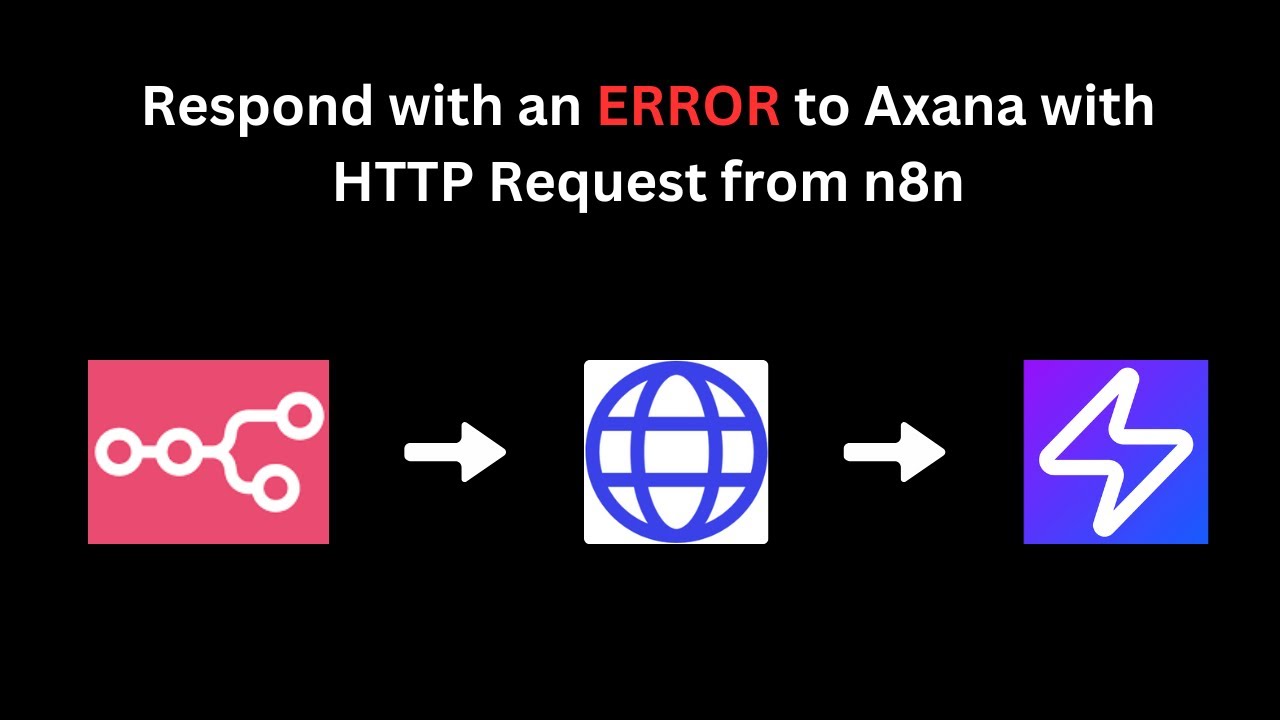
Error Response
When your agent (workflow) encounters an error:
- Send a POST request to the URL in
x-axana-response-url-error - Content-Type:
application/json - Body: JSON object containing error details
- Expected response:
200 Ok - Note: Users will not be charged for failed transactions
📹 Video Tutorial: Error Response Configuration
Click on the picture to watch how to properly handle and send error responses:
Response Validation
- Responses are immediately validated for proper JSON format
- Axana does not validate against the output schema
- Malformed JSON will return a 400 (Bad Request) status to the HTTP request and an error "agent error" to the user
See Also
Questions or feedback? Contact us at support@axana.ai or visit our help forum.